The Ceiling-Plaster Manual, Written in Trial and Error
원문: 한옥 셀프 리모델링 기록 #40 (조적 욕조 내부 미장 · 주방 타일 시공 · 천장마감 미장 노하우 최종 정립) (한국어판)
Day forty-four. A professional’s rhythm upstairs in the kitchen, and downstairs, the moment a self-builder lives for: writing the manual you wish you’d been handed.
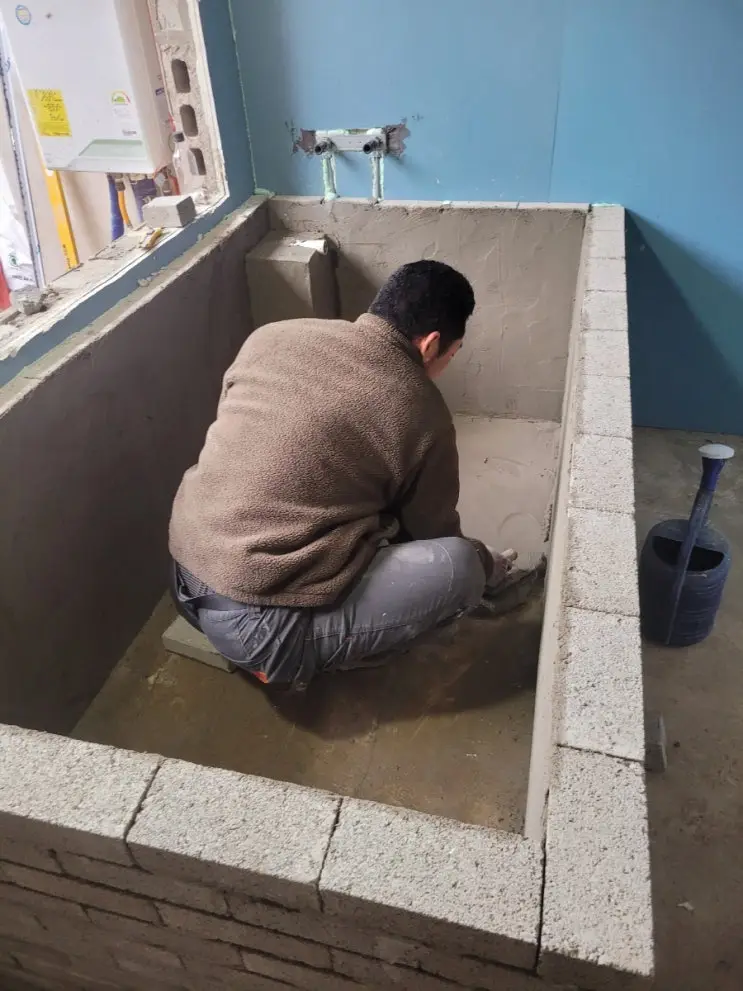
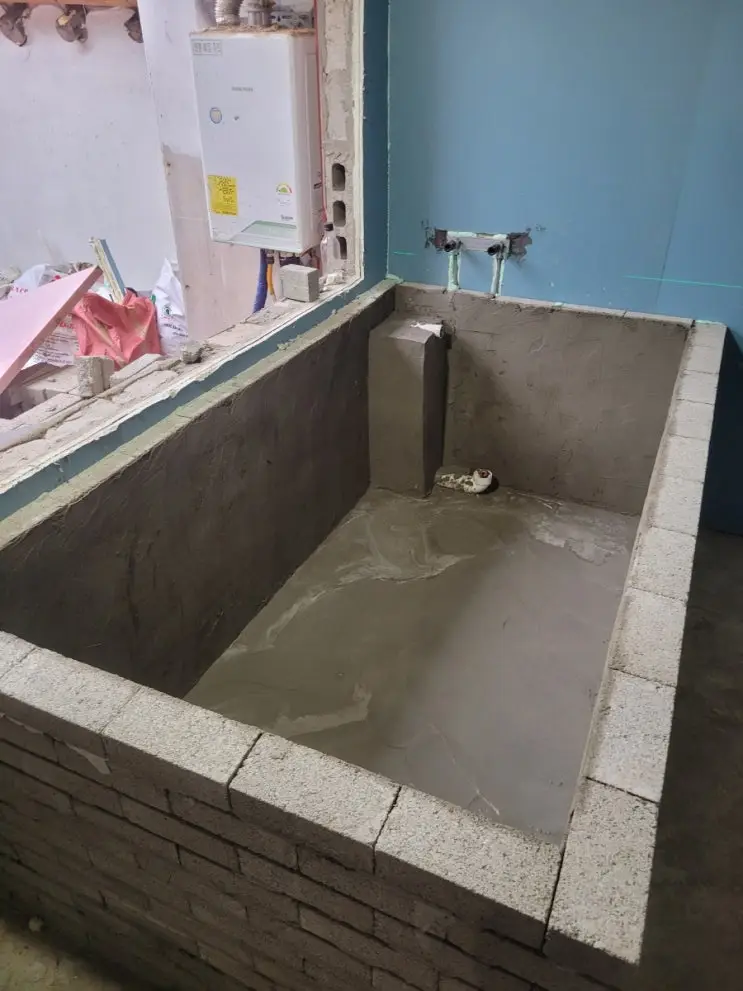
The tub gets ready for its rubber coat. Gomas won’t bond to raw brick, so the tub’s interior — walls and floor — got a full mortar render first. In the same pass we raised the tub’s floor about 3 cm: partly for drain fall toward the outlet, partly for how the tub will actually feel to sit in. A masonry tub is sculpture you calibrate in centimeters.
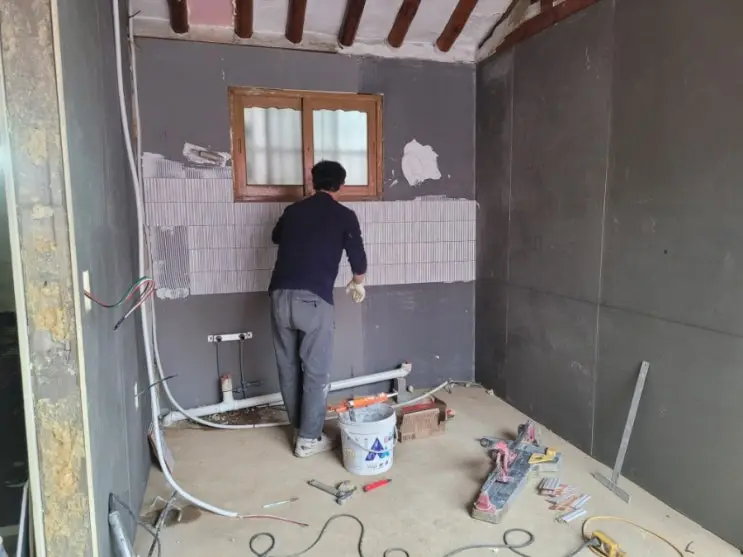
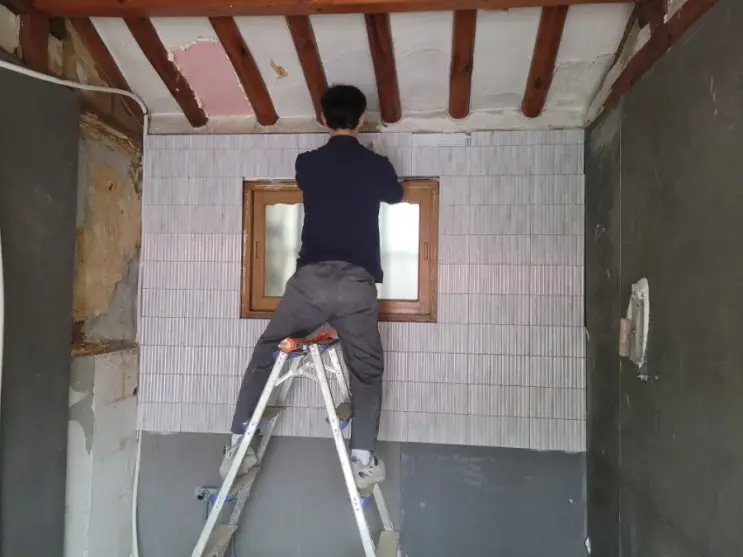
The professional at work. Cheolsu-hyung, our tiling expert, began production on the kitchen walls — the zones where cabinetry will hang came first, and by day’s end the outer wall was done: 50% of the kitchen in a single day, every course struck level against the future cabinet line. We supported by boarding the side wall right ahead of his advance. Watching a pro tile after weeks of doing everything ourselves is humbling in a useful way: the speed is the skill.
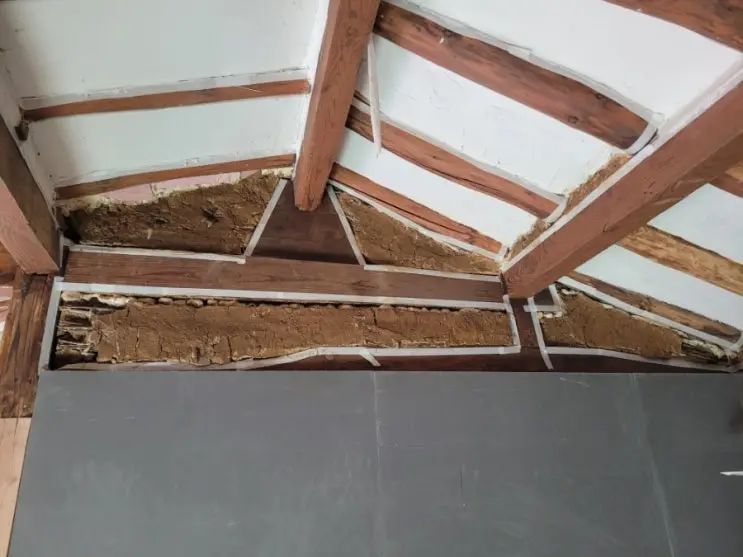
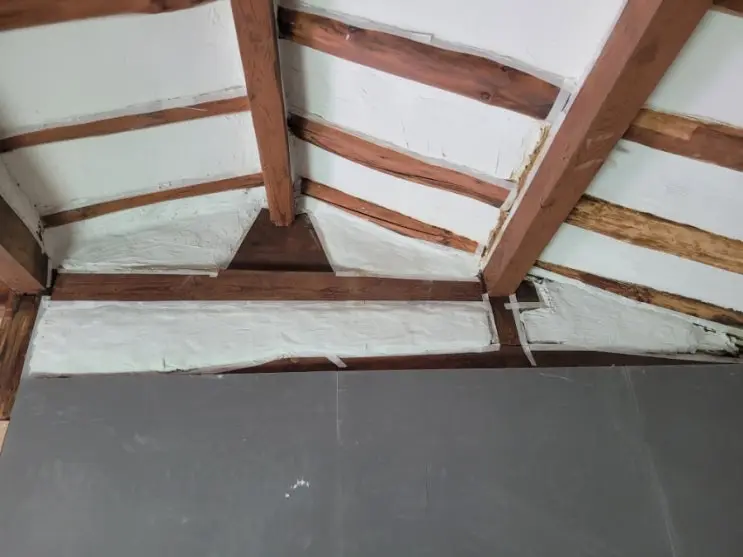
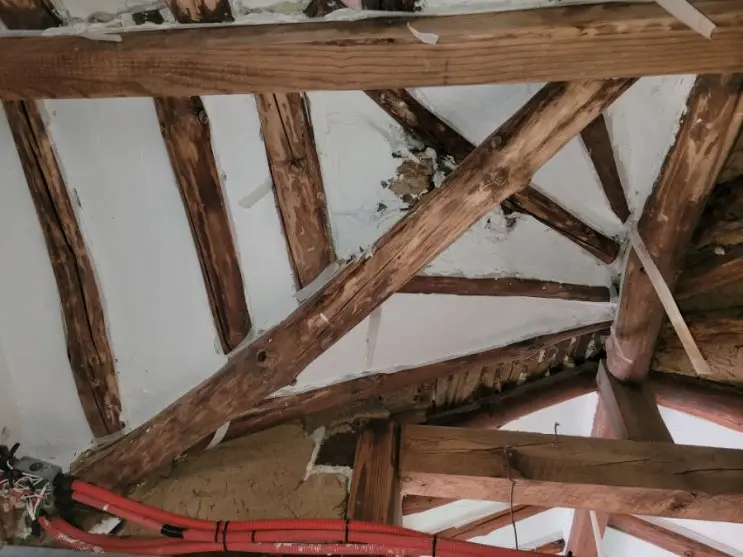
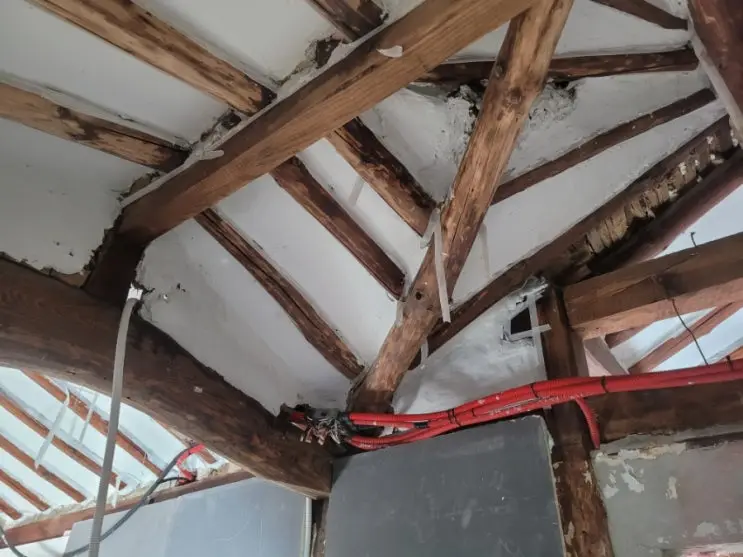
The manual. And then the day’s real deliverable — after all the ceiling-edge battles, our finalized four rules for plastering hanok ceiling zones:
- Top-down, always. Finish the upper face first; working bottom-up means cement raining on completed work, and doing everything twice.
- Peanut-butter consistency. X18 mixed thick and spread generously holds a plane. A wet mix flatters you on application, then drips and ruins the floor and the finish both.
- Minimal brushing. Mist, then one or two soft strokes. Overworking the brush undoes the smoothness it created.
- Holes by size. Pinholes: a single reverse-direction brush flick. Real voids: pack with a loaded rubber spatula (a spoon works), then re-brush once.
Trial and error is only expensive if you don’t write down what it bought.
Originally logged in Korean on April 9, 2026 — read the original. Translated and edited by the brothers who did the work.